
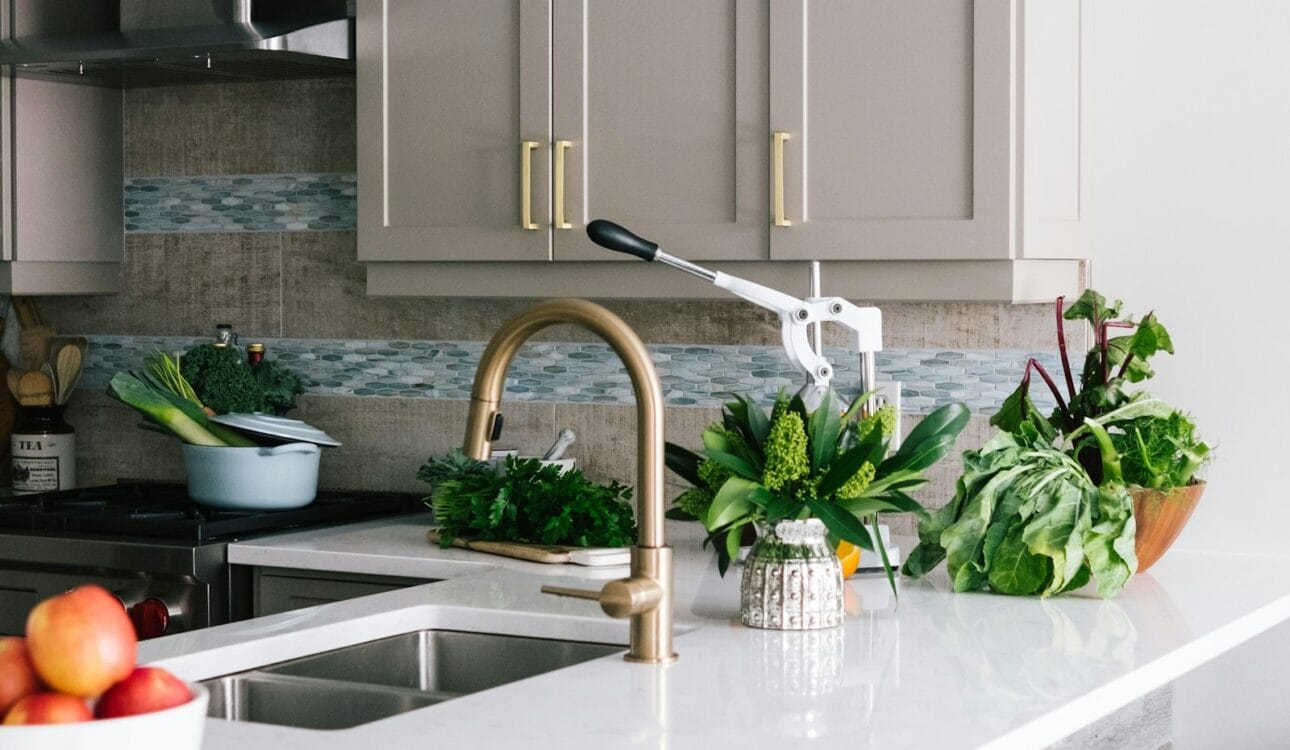
Lighting is the finishing touch that changes everything. The same kitchen, with the same cabinets and the same worktop, can look cold and flat or warm and luxurious depending on how it is lit. More importantly, lighting decides whether you can work safely: whether you can see the edge of a knife, the colour of chicken as it cooks, or the dirt left on a plate.
Yet lighting is often treated as a detail left to the electrician after the kitchen is installed. The result is familiar: a few ceiling spotlights that throw your own shadow onto the worktop, a dark corner exactly where you prepare food, and bright points of light reflected in glossy fronts. This guide explains how to plan kitchen lighting properly, using simple concepts — lux, lumens, colour temperature and colour rendering — and practical positions for every type of light. It draws on the experience of a Riyadh kitchen factory that has designed more than 5,000 kitchens since 2015 and integrates lighting into cabinets as part of the design.
Think in layers, not in fittings
Good kitchen lighting is built in layers, each with a different job. When one layer tries to do everything, the result is either too dark where you work or too bright where you relax.
- Ambient (general) lighting: lights the whole room so you can move safely and see the space.
- Task lighting: concentrated light on the worktop, sink, cooktop and island where you cut, wash and cook.
- Accent lighting: highlights features such as glass cabinets, open shelves, a textured backsplash or the underside of an island.
- Decorative lighting: pendants and statement fittings that give the kitchen character, especially over an island or dining table.
Planning these layers separately — and controlling them separately — is what gives a kitchen both practicality during cooking and atmosphere in the evening.
Understanding lumens, lux and watts
Lighting catalogues use several terms that are easy to confuse. Understanding three of them is enough to make good decisions.
Watts
Watts measure how much electricity a lamp uses, not how much light it produces. With LED technology, a low-wattage lamp can be very bright. Comparing lamps by watts is no longer useful.
Lumens
Lumens measure the total amount of light a lamp or fitting produces. A higher lumen figure means more light leaving the fitting. When comparing LED strips, lumens per metre is the useful figure.
Lux
Lux measures how much light actually lands on a surface. One lux is one lumen spread over one square metre. This is the figure that matters on your worktop. The same lamp gives high lux close to the surface and low lux far away; a narrow beam concentrates light, a wide beam spreads it.
Practical targets
As a practical guide for homes, general lighting of about 150 to 300 lux keeps a kitchen comfortable, while worktops where food is prepared benefit from roughly 300 to 500 lux. You do not need a lux meter to plan this: the key is to add dedicated task lighting close to the worktop instead of trying to reach working brightness with ceiling lights alone.
Colour temperature: warm, neutral or cool?
Colour temperature, measured in kelvin (K), describes whether white light looks warm and yellowish or cool and bluish.
- Warm white (about 2700 to 3000 K): cosy and relaxing, ideal for pendants over an island, dining areas and evening ambience.
- Neutral white (about 3500 to 4000 K): clear and natural, a good choice for working areas because it shows food and materials without distortion.
- Cool white (about 5000 K and above): very crisp; it can feel clinical in homes and tends to make warm materials like wood look dull.
The most important rule is consistency. Mixing very different colour temperatures in the same view — for example, cool ceiling spots with warm under-cabinet strips — makes a kitchen look patchy. Choose one temperature for the working layers and, if you like, a slightly warmer one for decorative pendants.
Colour rendering (CRI): why food and finishes look wrong under cheap LEDs
The colour rendering index, or CRI, describes how faithfully a light shows colours compared with natural daylight, on a scale up to 100. Low-CRI lighting makes meat look grey, vegetables look dull and wood look flat. It can also make your carefully chosen cabinet colour look different from the sample you approved.
For kitchens, choose fittings with a CRI of 90 or higher. The difference is immediately visible when you place two lamps side by side, especially on skin tones, food and natural materials. It is one of the most cost-effective upgrades in lighting.
Ambient lighting: getting the ceiling right
Ceiling lighting provides the base layer. Most Saudi kitchens use recessed downlights in a false ceiling, sometimes combined with a cove or linear light.
- Position downlights over the worktop edge, not the centre of the room. A grid of lights in the middle of the ceiling lights the floor well but puts your shadow on the worktop when you stand facing the cabinets.
- Use wide beam angles for general light. Narrow spotlights create bright circles and dark gaps; wider beams give even light.
- Consider anti-glare fittings. Recessed fittings with deep-set LEDs reduce glare, especially important in open kitchens visible from the living room.
- Coordinate with wall cabinets. Downlights too close to tall units or wall cabinets create harsh scallops of light on the fronts.
- Linear and cove lighting gives soft, indirect light that makes the ceiling feel higher and works well in modern designs.
Task lighting: the layer that matters most
Under wall cabinets
Under-cabinet lighting is the single most effective improvement in most kitchens. LED strips mounted beneath the wall cabinets put light directly onto the worktop, exactly where you work, and eliminate the shadow cast by your own body.
- Mount the strip towards the front of the cabinet underside, not against the wall. This lights the whole worktop depth and avoids reflections of the LED dots on glossy backsplashes.
- Use an aluminium profile with a diffuser. It hides the individual LED points, spreads the light evenly and helps dissipate heat, extending the life of the LEDs.
- Choose enough output. Look at lumens per metre and CRI rather than just the strip’s name.
- Plan the driver. LED strips need a driver (power supply). It must be placed where it can be reached for replacement — often above a wall cabinet or inside a nearby cabinet — never sealed behind a fixed panel.
Over the cooktop
Most hoods include lights over the cooktop. Check that they are bright enough and have a colour temperature that matches the rest of the task lighting. If the hood light is weak, add a dedicated fitting nearby.
Over the sink
The sink is often under a window, which is lovely by day and dark by night. Plan a downlight or a small pendant over the sink, suitable for a location near water.
Over the island
Islands usually rely on pendants or recessed downlights. Pendants typically hang about 75 to 85 cm above the worktop; for an island of 180 to 240 cm, two or three pendants are common. Make sure they provide enough light for preparation, not only decoration — some beautiful pendants give very little useful light downwards. Our kitchen island guide covers island planning in more detail.
Accent lighting built into the cabinets
As a kitchen manufacturer, this is where we can add the most character. Lighting integrated into the furniture turns cabinets into features.
- Glass cabinets: vertical or horizontal LED profiles inside glass-fronted cabinets make dishes and glassware glow. Glass shelves let light pass through all levels.
- Open shelves: a recessed strip under each shelf highlights decorative items and adds soft light.
- Plinth lighting: a strip under the base cabinets makes the kitchen appear to float and provides a gentle night light.
- Drawer and cabinet interior lights: sensor-activated lights inside deep drawers and tall pantry units help you find things instantly.
- Handle-profile lighting: in handleless kitchens, a light in the recessed handle channel creates a striking line of light.
- Island underside: a strip beneath the island’s overhang adds a floating effect and light for seated guests’ feet.
These details must be planned during design, because the cabinet structure needs channels for cables, recesses for profiles and space for drivers.
Lighting and cabinet finishes
Different finishes react to light in very different ways, which affects both fitting positions and the choice of light.
- High-gloss fronts such as acrylic and glass reflect every point of light. Use diffused fittings and avoid placing spotlights where their reflections will be seen directly from the living room or seating area.
- Matte fronts absorb and soften light, giving a calm look; they may need slightly more output to feel bright.
- Wood looks richest under warm to neutral light with high CRI; cool light makes it look grey.
- Dark kitchens absorb more light and need more lumens to reach the same brightness as light kitchens.
- Polished worktops reflect under-cabinet strips; a front-mounted, diffused strip reduces the visible reflection line. See our worktop comparison for how finishes behave.
Natural light and the Saudi sun
Natural light is the best light, but in Saudi Arabia it comes with strong heat and glare. Large windows over the sink or worktop are pleasant in the morning and can be harsh in the afternoon. Consider blinds or tinted glass that reduce glare without darkening the kitchen, and remember that strong sunlight can affect some finishes over time. The artificial lighting plan should complement daylight: bright neutral light for dark evenings, and dimmable layers for times when daylight is still present.
Controls: switching and dimming
Lighting layers are only useful if you can control them separately. We recommend at least:
- Ceiling lights on one circuit.
- Under-cabinet task lights on another, ideally with their own switch near the worktop.
- Pendants over the island on a separate, dimmable circuit.
- Accent and plinth lights on their own switch or timer.
Dimming lets the kitchen shift from bright workspace to soft background, especially important in open-plan homes. Make sure the LED drivers and fittings are compatible with the dimmers chosen. Motion sensors inside cabinets and drawers are practical, and smart lighting systems can create scenes for cooking, dining and evening with a single touch.
Safety near water and heat
Kitchens combine water, steam and heat, so lighting must be chosen and installed correctly.
- Fittings near the sink and cooktop should have an ingress protection (IP) rating suitable for damp locations, as advised by your electrician.
- LED strips should be enclosed in profiles and kept away from direct heat sources.
- Drivers must be ventilated and accessible, not buried in insulation or closed panels.
- All electrical work should be carried out by a qualified electrician in line with local regulations, with protected circuits for wet areas.
Energy and maintenance
LED lighting uses far less energy than older technologies and produces less heat, which matters in hot climates where every watt of heat adds to air conditioning load. Quality LEDs last many years, but drivers are usually the first part to fail. That is why access to drivers is essential. Choose reputable fittings with stated lifetimes, and keep a record of the strip and driver specifications so that replacements match in colour temperature and brightness.
Lighting plans for common kitchen layouts
One-wall kitchen
A continuous under-cabinet strip along the whole run, two or three ceiling downlights positioned over the worktop edge, and a light over the sink if it is under a window.
L-shaped kitchen
Under-cabinet strips on both legs, meeting neatly at the corner; downlights following the L; and attention to the corner, which is often the darkest point.
Galley kitchen
Task lighting on both sides and a linear ceiling light along the centre of the corridor to avoid a tunnel effect.
Kitchen with island
Under-cabinet strips on the wall run, pendants or downlights over the island, plinth or underside lighting on the island for atmosphere, and dimming for the pendants.
Open-plan kitchen
Anti-glare downlights, warm dimmable pendants linking the kitchen to the living area, and task lighting that can be switched off in the evening so the kitchen fades into the background. Read more in our open-plan kitchen guide.
Timing: when lighting must be decided
Lighting has to be planned before the ceiling is closed and before the cabinets are manufactured. Ceiling light positions depend on cabinet positions, so they should be set out from the kitchen drawing, not guessed. Pendant points over an island must match the final island position. Cabinet lighting needs cable routes, recesses and driver locations built into the cabinets. When lighting is decided after installation, the choices shrink to surface-mounted fittings and visible cables.
Lighting for Saudi family life and hosting
Kitchens in Saudi homes are used at times and in ways that shape the lighting plan. Suhoor and late-night cooking during Ramadan mean the kitchen is often busy long after dark, when task lighting becomes essential and bright ceiling light can feel harsh at 3 a.m. A dimmable layer of soft under-cabinet or plinth light lets someone prepare a simple meal without flooding the house with light. During gatherings and Eid hosting, the kitchen becomes a serving station, and good even light over the island or serving counter helps presentation while warm pendants keep the atmosphere welcoming.
Families with a separate back kitchen should light it for work rather than looks: bright, neutral, high-CRI light across all worktops, washable fittings, and plenty of under-cabinet strips. The front, presentable kitchen can then focus on atmosphere, with warmer tones, decorative pendants and accent lighting in glass cabinets. In homes with a coffee corner, a small dedicated light over the coffee station — warm, dimmable and separately switched — makes the ritual of preparing Arabic coffee a pleasure at any time of day.
Budgeting for kitchen lighting
Lighting is one of the most cost-effective upgrades in a kitchen, but it is easy to spend money in the wrong place. Prioritise good under-cabinet task lighting with high CRI and quality drivers first, because it affects daily cooking most. Next, invest in well-placed ceiling downlights with good glare control. Decorative pendants and accent lighting come after, and they can be added in stages if the wiring and cabinet recesses are prepared from the start. The key is to plan all layers during design, even if some fittings are installed later; running a cable during construction costs little, while adding it after the ceiling and cabinets are finished is disruptive and expensive.
Common kitchen lighting mistakes
- Relying only on ceiling lights, which put your shadow on the worktop.
- Downlights placed in a grid in the middle of the room.
- Mixing cool and warm light in the same view.
- Low-CRI LEDs that make food and finishes look dull.
- Under-cabinet strips mounted at the back, reflecting as dots on a glossy backsplash.
- Drivers sealed behind fixed panels.
- Decorative pendants that give almost no useful light.
- No separate control for task, ambient and decorative layers.
- Deciding lighting after the ceiling is closed.
How we plan lighting at Modern Palace
During the free measuring visit we note ceiling height, windows and existing electrical points. In the design stage we decide which cabinet lighting to integrate — under-cabinet strips, glass-cabinet profiles, plinth lights, drawer sensors — and where drivers and power points will be. We show the lighting effect in the 3D design, and we share a clear layout with your electrician so ceiling positions match the cabinets exactly. Our teams then install the kitchen and its integrated lighting, covered by our written 10-year warranty.
Lighting checklist
- Have you planned ambient, task, accent and decorative layers?
- Is there under-cabinet task lighting along every worktop?
- Are downlights positioned over the worktop edge rather than the room centre?
- Is the colour temperature consistent across working areas?
- Do fittings have a CRI of 90 or higher?
- Can each layer be switched, and pendants dimmed, separately?
- Are drivers accessible?
- Are fittings near water and heat suitable for those locations?
- Has the lighting been decided before the ceiling is closed and the cabinets manufactured?
Light is what you see every time you walk into the kitchen. Planned in layers, with the right brightness, colour and control, it makes cooking safer, cleaning easier and the whole kitchen more beautiful — morning, afternoon and night.
Frequently asked questions
How bright should kitchen lighting be?
As a practical guide, general kitchen lighting of roughly 150 to 300 lux keeps the room comfortable, while the worktop where you cut and prepare food benefits from around 300 to 500 lux. Task lighting under wall cabinets usually provides this extra brightness exactly where it is needed.
What is the difference between lumens and lux?
Lumens measure how much light a lamp produces in total. Lux measures how much of that light actually lands on a surface, such as the worktop. One lux is one lumen spread over one square metre. Two lamps with the same lumens can give very different lux on the worktop depending on height, beam angle and position.
Which colour temperature is best for a kitchen?
Neutral white of about 3500 to 4000 K is a good balance for working areas, because it shows food colours clearly without feeling clinical. Warm white of about 2700 to 3000 K suits pendants over an island or dining area and evening ambience. Avoid mixing very different temperatures in the same view.
What does CRI mean and why does it matter?
CRI (colour rendering index) describes how naturally a light source shows colours compared with daylight, on a scale up to 100. For kitchens, a CRI of 90 or higher is recommended so that meat, vegetables, spices and your cabinet and worktop colours look true.
Where should under-cabinet LED strips be placed?
Place them towards the front edge of the wall cabinet’s underside, not against the wall. This lights the whole depth of the worktop and avoids casting the shadow of your head and hands onto the work area. Use an aluminium profile with a diffuser to hide the individual LED dots and reduce glare.
Does Modern Palace include lighting in the kitchen design?
We plan cabinet lighting — under-cabinet strips, lighting inside glass cabinets and drawers, and the positions of power points and drivers — as part of the kitchen design and show it in the 3D design. Ceiling lighting and wiring are coordinated with your electrician before the ceiling is closed.
Want lighting built into your new kitchen?
We plan under-cabinet, glass-cabinet and plinth lighting as part of the design and show the effect in a 3D design before manufacturing. Riyadh, Al-Ahsa, Buraidah and Hail.