
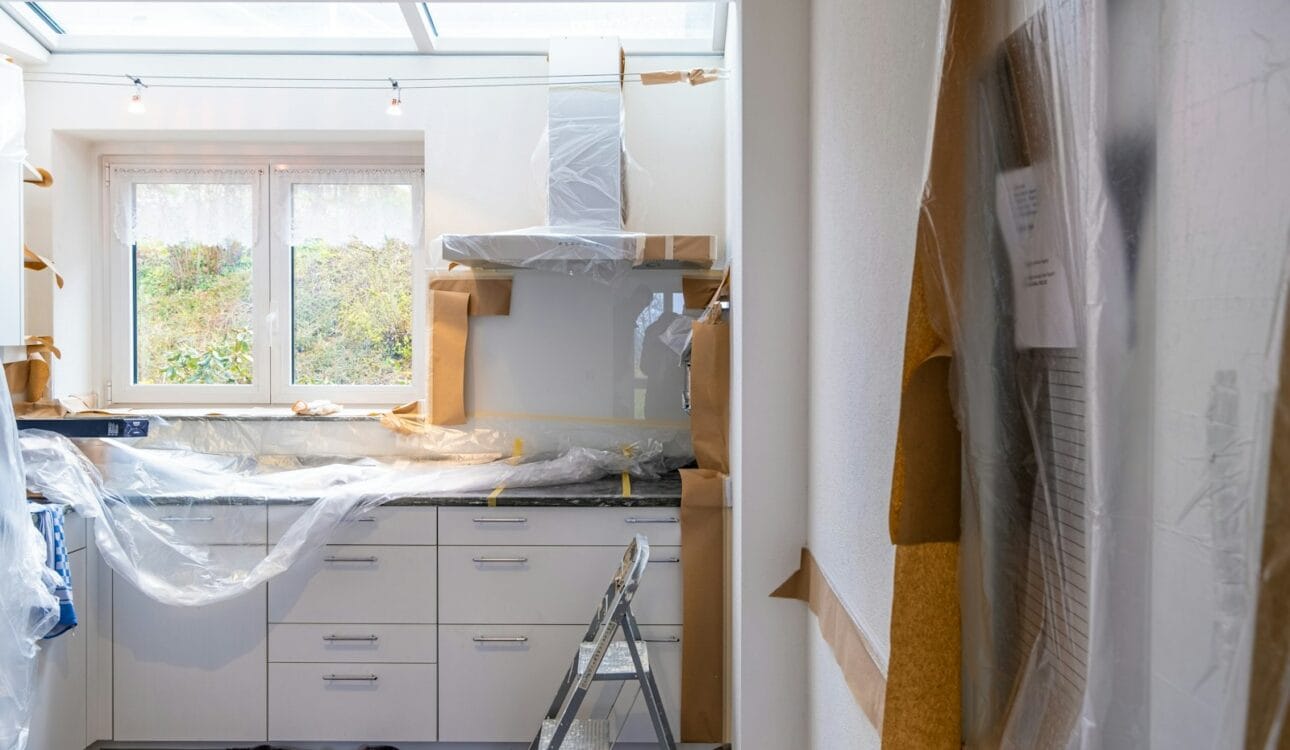
Planning a new kitchen can feel overwhelming. There are materials to compare, colours to choose, appliances to research, measurements to take, and a budget that never seems quite large enough. Many people start with the part that feels most exciting — a colour, a photo of a beautiful island, a type of worktop — and only later discover that the really important decisions were about water pipes, electrical points and walkway widths.
This guide puts the process in order. It follows the same sequence we use when we design a kitchen with a client, from the first conversation to the day the kitchen is handed over. Each step builds on the one before, so that by the time you choose colours and handles, the kitchen already works. It is written from the experience of a Riyadh kitchen factory that has designed, manufactured and installed more than 5,000 kitchens since 2015 across Riyadh, Al-Ahsa, Buraidah and Hail.
Step 1: Understand how your family uses the kitchen
Before looking at a single catalogue, spend time thinking about how your kitchen is actually used. The answers shape every later decision, and they are different for every family.
Who cooks, and how often? A household where one person cooks a large lunch every day needs a very different kitchen from one where meals are light and quick. How many people usually eat at home, and how often do you host? Saudi households frequently prepare food for large gatherings, which calls for wide pots, generous worktops and plenty of serving space. Do you fry often, or cook dishes with strong smells? That affects ventilation and whether an open kitchen makes sense. Do children do homework or eat breakfast in the kitchen? That suggests seating. Is there a helper who works in the kitchen? That may justify a second, service kitchen. Do you prepare Arabic coffee and tea several times a day? A dedicated coffee corner will be used constantly.
Write these answers down. They become your brief, and they will guide the designer far better than a folder of photos alone.
Step 2: Collect inspiration — and understand it
Photos are useful, but only when you understand what you like about them. For each image you save, write one line: “I like the warm wood,” “I like that the appliances are hidden,” “I like the lighting under the cabinets,” “I like that the island has seating on one side.” This helps separate what is essential from what simply looks good in a professional photograph with perfect lighting and no daily clutter.
Be aware that many inspiration photos come from homes with different climates, cooking styles and room sizes. A white marble kitchen with open shelving may look calm in a photograph, but it may not suit heavy daily cooking in a dusty climate. The goal is to capture the feeling you want, then translate it into materials and layouts that work in your home.
Step 3: Set a realistic budget and priorities
A kitchen budget is not one number; it is a series of choices. The main cost drivers are the size of the kitchen, the materials of the fronts and structure, the number of drawers compared with doors, the accessories inside cabinets, the worktop, the appliances, lighting, and any construction work needed to move services.
Rather than setting a total and hoping it fits, decide your priorities. Which parts of the kitchen will you touch and see most? Those deserve investment. Which parts are hidden or rarely used? Those can be simpler. An itemised quotation makes this possible, because it shows the cost of each decision separately. Our kitchen pricing guide explains in detail how prices are calculated and where savings hide.
Step 4: Measure the space and record the services
Accurate measurement is the foundation of everything. A professional measurement records each wall at several heights, checks corners and floor levels, and marks windows, doors, columns, beams and ceiling heights. Equally important, it records the services: water supply and drainage positions, gas, electrical points, and any existing opening for a hood duct.
If you are building or renovating, this is the stage where services can still be moved. Placing the sink under a window, giving the cooktop a short duct route to the outside, or bringing water and power to an island are all simple before the floor and ceiling are finished, and difficult afterwards. We explain the technical requirements in our guide to electrical and plumbing preparation for kitchens.
Step 5: Choose the layout
With the room measured and the services known, the layout can be chosen. The main options are one-wall, galley, L-shaped, U-shaped, with an island, or with a peninsula. The right choice depends on the room’s shape and size, the position of doors and windows, and how many people cook at once.
Some principles apply to every layout. Keep a clear walkway of about 100 to 120 cm where people work. Place the main preparation worktop between the sink and the cooktop. Give the cooktop worktop space on both sides. Group tall units at the ends of runs so they do not split the worktop. Keep the refrigerator a few steps from the preparation area with some worktop beside it. If you are considering an island or an open kitchen, read our guides to island design and open-plan kitchens before deciding.
Step 6: Choose appliances
Appliances should be chosen, or at least specified by type and size, before the cabinets are designed in detail. A built-in oven needs an exact cabinet opening. An integrated refrigerator needs a tall unit sized to the model. A dishwasher needs a 45 or 60 cm space. A cooktop’s width affects the hood and the cabinet above. A freestanding refrigerator needs ventilation clearance.
Think about how you cook. Families who cook large meals often appreciate a wider cooktop, two ovens or an oven plus a combination microwave. Households that host frequently may want a larger dishwasher or even two. A coffee machine may deserve its own place in a tall unit or coffee corner. Energy efficiency and noise levels matter too, especially in open kitchens.
Step 7: Plan storage around your belongings
With the layout and appliances set, storage can be planned in detail. List what you own — pots, trays, plates, glasses, spices, dry goods, small appliances, cleaning products, seasonal hosting sets — and decide where each group should live. Daily items belong in drawers at comfortable height near where they are used. Corners need proper accessories. A pull-out pantry transforms dry-goods storage. The sink cabinet needs a plan for waste and cleaning products. Our storage accessories guide covers these options in depth.
Step 8: Choose materials for structure, fronts and worktop
Materials should follow function first and appearance second. Around the sink and dishwasher, where water is constant, water-resistant structures such as aluminium or saj protect the kitchen for years. For fronts, each material has its own character: wood for warmth, acrylic for deep gloss, tempered glass for a clean reflective finish, formica for value, and acrylic with formica for a premium look at a lower cost. Our guide to choosing the best kitchen material compares them.
The worktop is a separate decision with its own trade-offs between heat resistance, stain resistance, sunlight stability and maintenance. See our worktop comparison for details.
Step 9: Plan ventilation and lighting
These two are invisible in most photos and decisive in daily life. Ventilation needs a hood at least as wide as the cooktop, ducted to the outside through the shortest, straightest route possible. Lighting needs layers: general ceiling light, task lighting under wall cabinets, and decorative or accent lighting where appropriate. Both must be planned before the ceiling is closed. Read our guides to kitchen ventilation and kitchen lighting.
Step 10: Choose hardware
Hinges, drawer runners and lift systems are the parts you touch every day. Decide on soft-close throughout, full-extension runners for deep drawers, heavy-duty runners for pots and pantries, and lift systems sized to the weight of each wall flap. If you want a handleless kitchen, the opening system must be chosen now. Our hardware guide explains how to compare options.
Step 11: Choose colours, handles and finishing details
Only now, with the kitchen working on paper, is it time for colours and handles. See samples in daylight and under your planned lighting, next to your floor and wall colours. Consider how finishes age: high gloss shows fingerprints, very dark finishes show dust, very light matte finishes can show stains. Decide whether handles, recessed profiles or push-to-open suit your style and habits. Plan details such as finished end panels, cabinets to the ceiling, plinth finishes and the backsplash.
Step 12: Review the 3D design and drawings
A good kitchen maker presents a 3D design along with plan and elevation drawings. This is your chance to walk through the kitchen before it exists. Check walkways, door swings, appliance openings, drawer positions, heights and the view from other rooms. Ask about anything unclear. Changes at this stage cost nothing; changes after manufacturing cost time and money. Learn more about how we use 3D design.
Step 13: Approve an itemised quotation
The quotation should list every cabinet, material, accessory, worktop, hardware item and service, with brands and specifications where relevant. It should state what is included in installation, the timeline, the payment schedule and the warranty terms in writing. Compare quotations line by line rather than by total alone; two offers with similar totals can differ greatly in drawers, hardware quality and materials.
Step 14: Manufacturing and site preparation
While the kitchen is being manufactured, the site should be prepared: services in their final positions, walls finished, floors laid, ceilings closed with lighting points ready, and the space clear. Coordination between your contractor and the kitchen maker at this stage prevents delays on installation day.
Step 15: Installation, worktop and handover
Installation usually begins with base cabinets, which are levelled and fixed, followed by wall and tall units. For stone, quartz and porcelain worktops, the final template is taken once the base cabinets are in place, and the worktop is installed afterwards. Appliances are fitted, fronts aligned, and hardware adjusted. At handover, inspect every door and drawer, check the worktop and joints, test the sink and appliances, and make sure you receive care instructions and warranty documents. Our guide to the kitchen handover checklist explains what to look for.
A realistic timeline
Every project is different, but understanding the typical sequence helps you plan. The design phase — measuring, discussing, designing and approving — depends mostly on how quickly decisions are made. Manufacturing follows approval and takes a period that depends on the kitchen’s size and materials. Installation of cabinets usually takes days rather than weeks, and stone or porcelain worktops add a short final stage for templating and fabrication. The most common cause of delay is not manufacturing; it is late decisions on appliances, worktops or services, and sites that are not ready when the kitchen arrives.
Planning for the Saudi home
Several considerations deserve special attention in Saudi homes. Heavy cooking and frying make ducted ventilation essential. Frequent hosting calls for serving space, large storage and possibly a second kitchen. Coffee and tea rituals suit a dedicated coffee corner. Floors are often washed, so plinths and lower cabinet edges must resist water. Dust in Riyadh favours closed storage and finishes that do not show it easily. Strong sunlight affects some worktops and finishes. Humidity in Al-Ahsa makes water-resistant structures and corrosion-resistant hardware more important. A kitchen designed with these realities in mind will serve the family far better than one copied from a catalogue produced for another climate and lifestyle.
Renovating an existing kitchen versus planning in a new build
The steps above apply to both situations, but the constraints differ. In a new build, you have the most freedom: services can go almost anywhere, walls can be adjusted, ceilings can be designed around lighting and ventilation, and the kitchen can be planned together with the rest of the house. The challenge is timing. Kitchen decisions are often postponed until the building is nearly finished, by which point the pipes, drains and electrical points have already been placed according to a generic drawing. The single most valuable thing you can do in a new build is to involve the kitchen designer before the services are fixed.
In a renovation, the existing services usually set the framework. Moving a sink a short distance along a wall is often simple; moving it to an island in the middle of a finished floor is not. The same is true of hood ducts through finished ceilings and gas lines. A good renovation design starts by understanding what can move easily, what can move with effort, and what should stay where it is. Sometimes the best kitchen is not the one in the inspiration photo, but the one that makes the most of the existing structure with smart layout and storage.
Renovations also involve living without a kitchen for a period. Planning a temporary cooking area, deciding what to keep and what to replace, and coordinating the removal of the old kitchen with the delivery of the new one all reduce disruption. It helps to schedule the removal close to the installation date so the family is without a kitchen for as short a time as possible.
Involving the whole family
A kitchen serves everyone in the home, and the best designs come from listening to all of them. The person who cooks most knows where the pain points are in the current kitchen. Other family members may have ideas about seating, coffee, homework or hosting that change the layout. Older parents may need lower storage and easier access. Children grow quickly, and a kitchen that will last fifteen years should anticipate that. Bringing these voices together early — even in a short family conversation before the first design meeting — avoids redesigns later and produces a kitchen everyone feels at home in.
Keeping decisions on track
The number of decisions in a kitchen project can cause fatigue, and fatigue leads to rushed choices at the end, usually in the details that matter most daily. Keep a simple decision list: layout, appliances, materials, worktop, hardware, lighting, colours, handles. Tick each one off once it is decided and confirmed in writing. If you change your mind later, ask how it affects the rest of the design and the timeline. A calm, ordered process leads to a better kitchen than a rush of last-minute changes.
The most common planning mistakes
- Starting with colours before layout and services.
- Finishing floors and ceilings before deciding the sink, cooktop, island and lighting positions.
- Choosing appliances after the cabinets are manufactured.
- Squeezing an island into a room that is too narrow.
- Planning too little closed storage, leaving the worktop crowded.
- Choosing a recirculating hood for heavy daily cooking.
- Relying on ceiling lights only.
- Comparing quotations by total rather than by line items.
- Approving the design without reviewing the drawings and 3D model carefully.
How we guide the process at Modern Palace
We work through these steps with every client. The first conversation focuses on how you live and cook. We then measure the site for free, record the services, and discuss layout options. Our designers prepare a 3D design with drawings, and we revise it with you until it works for your family. You receive a written, itemised quotation. Our factory in Riyadh manufactures the kitchen to your measurements, and our own teams install it, with a written 10-year warranty. For an overview of what happens between approval and installation, see our kitchen fabrication stages, and to compare companies, read how to choose a kitchen factory.
Your planning checklist
- Have you written a brief describing how your family cooks, eats and hosts?
- Have you noted what you like in each inspiration photo?
- Have you set priorities within your budget?
- Has the room been professionally measured with all services recorded?
- Have services been placed before floors and ceilings were finished?
- Have you chosen the layout with proper walkways?
- Have appliances been specified before manufacturing?
- Is storage planned around your real belongings?
- Are materials matched to function, especially near water?
- Are ventilation and lighting planned?
- Is hardware specified?
- Have you reviewed the 3D design and drawings?
- Is the quotation itemised and the warranty written?
A kitchen planned in the right order is a kitchen that works from the first day. Take the decisions one by one, starting with how you live and ending with colours, and the result will be a space that is both beautiful and genuinely easy to use.
Frequently asked questions
When should I start planning a new kitchen?
As early as possible — ideally before the floor, ceiling and electrical work are finished. Decisions about the sink, cooktop, hood duct, island and lighting all depend on services that are much easier to place during construction than after.
How long does a custom kitchen take?
It depends on the size, materials and approvals, but a typical made-to-measure project moves through measuring, design and approval, manufacturing, and installation over a period of several weeks. Worktops in stone or porcelain are templated after base cabinets are installed, which adds a short final stage.
Should I choose appliances before designing the kitchen?
At least their type and size should be decided before manufacturing. Built-in ovens, integrated refrigerators, dishwashers, cooktops and hoods all need exact cabinet sizes and service positions.
How do I set a realistic kitchen budget?
List what matters most — materials, drawers, corner solutions, worktop, appliances — and ask for an itemised quotation. It shows the cost of each decision, so you can invest where it matters and simplify elsewhere instead of cutting quality everywhere.
What should I prepare before the first meeting?
A rough sketch or photos of the space, a list of appliances you have or want, photos of kitchens you like, your approximate budget, and notes about how your family cooks, hosts and stores food.
Does Modern Palace handle the whole process?
We handle the kitchen itself from measuring to installation: free site measurement, design with a 3D presentation, an itemised written quotation, manufacturing in our Riyadh factory and installation by our own teams, with a written 10-year warranty. Construction work such as moving walls or services is coordinated with your contractor.
Starting a new kitchen?
We guide you from the first measurement to installation: free site visit, 3D design, itemised quotation, manufacturing in our Riyadh factory and installation by our own teams. Riyadh, Al-Ahsa, Buraidah and Hail.